
Pico Indio / Udem

Pico Indio / Udem
Parque Nacional Cumbres de Monterrey, San Pedro Garza García
887 m
6 km
7 h
1660 msnm
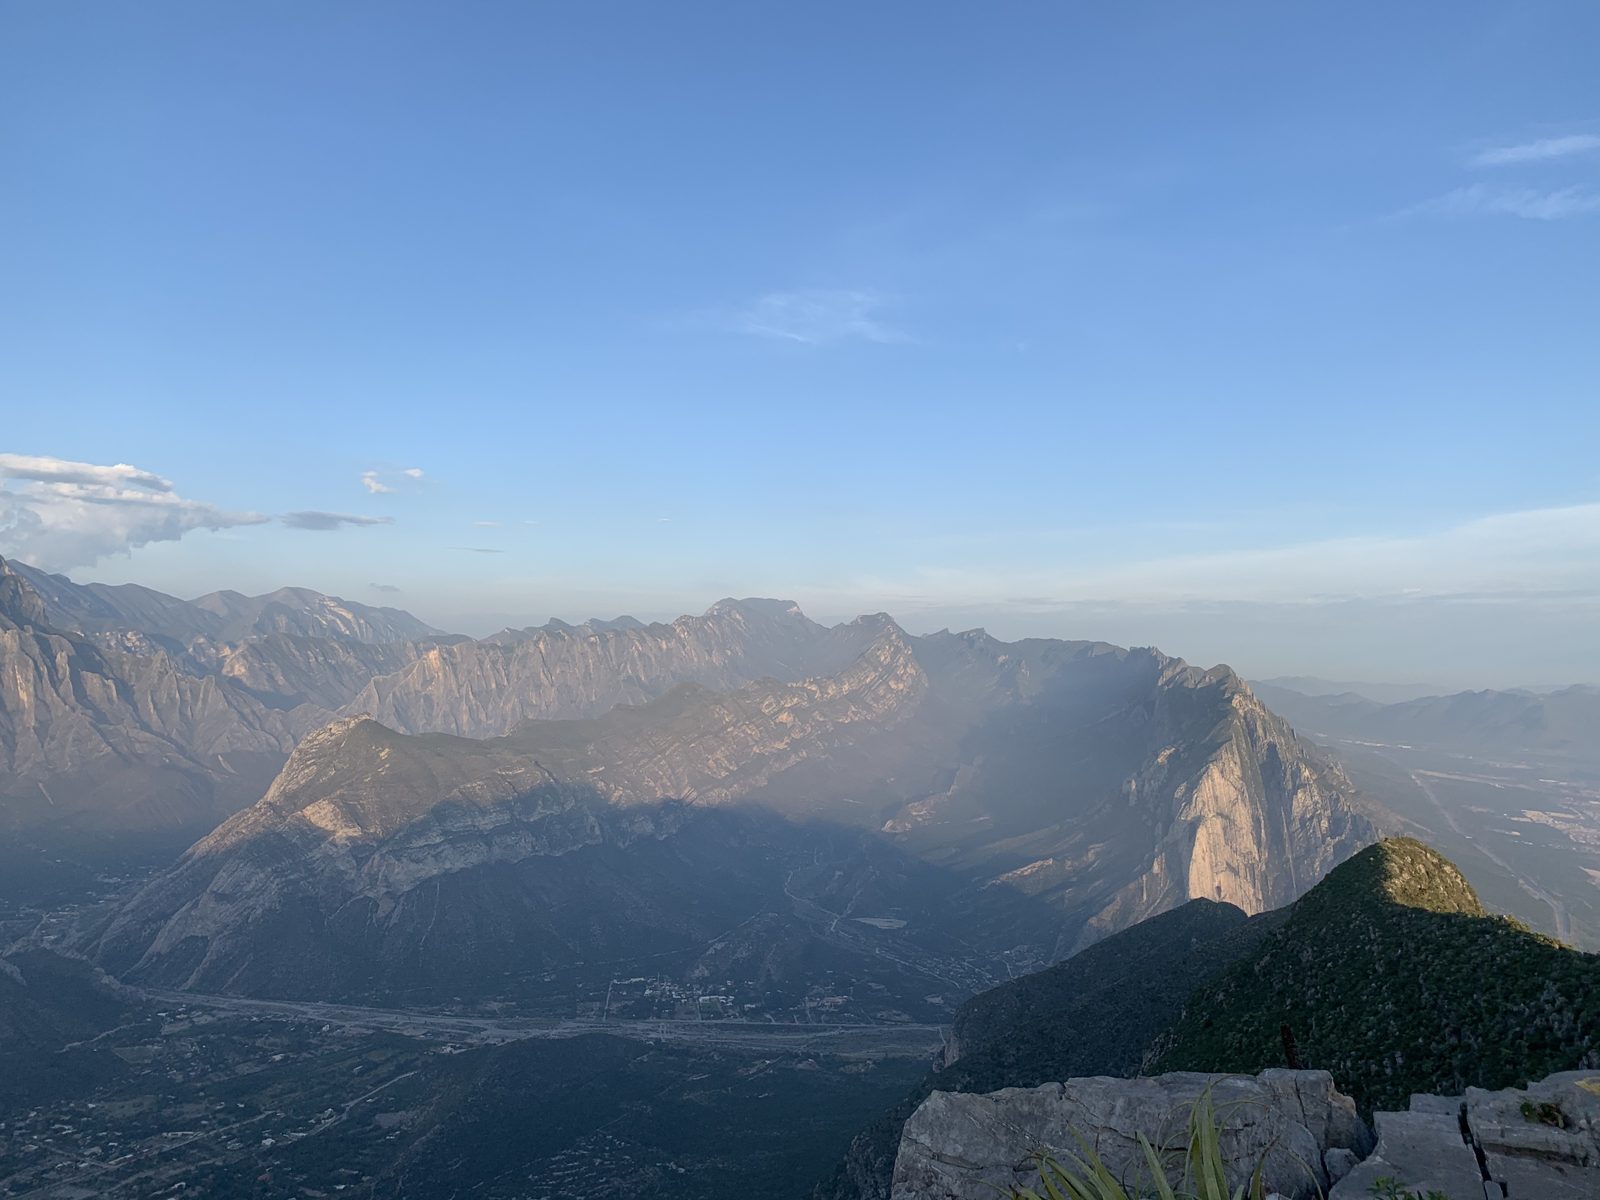
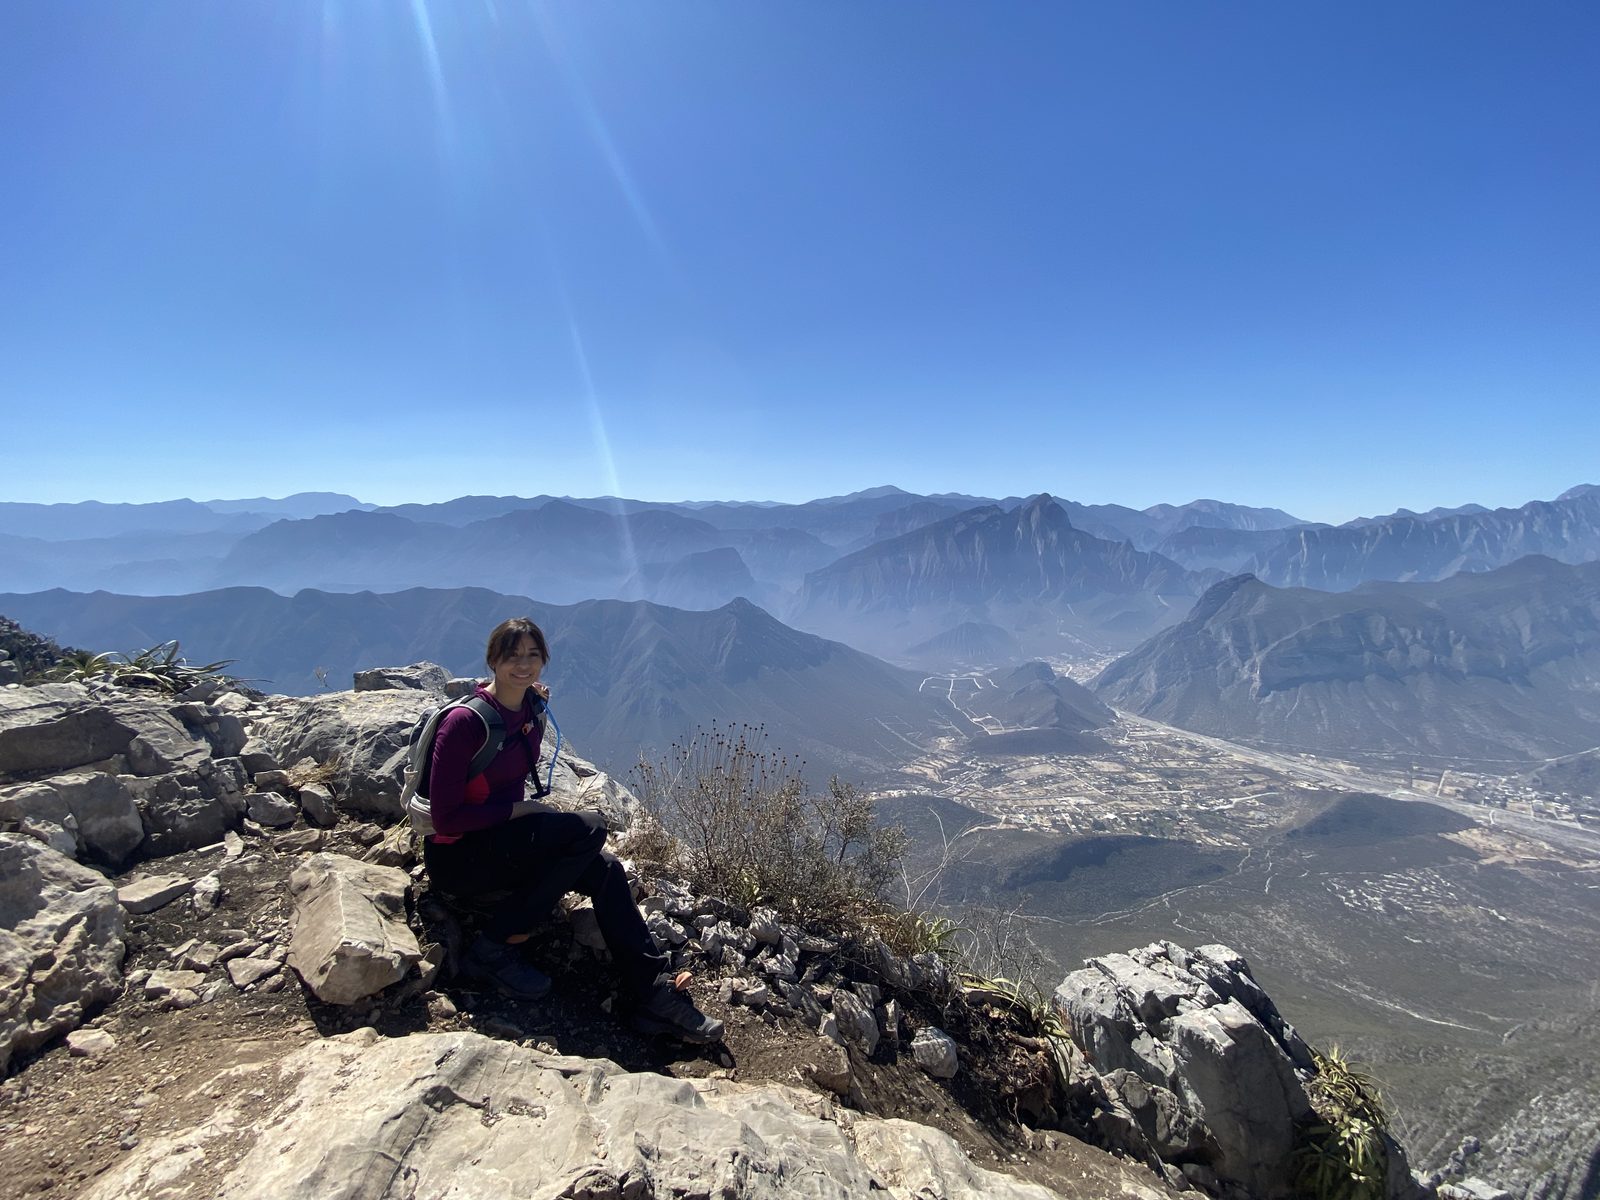
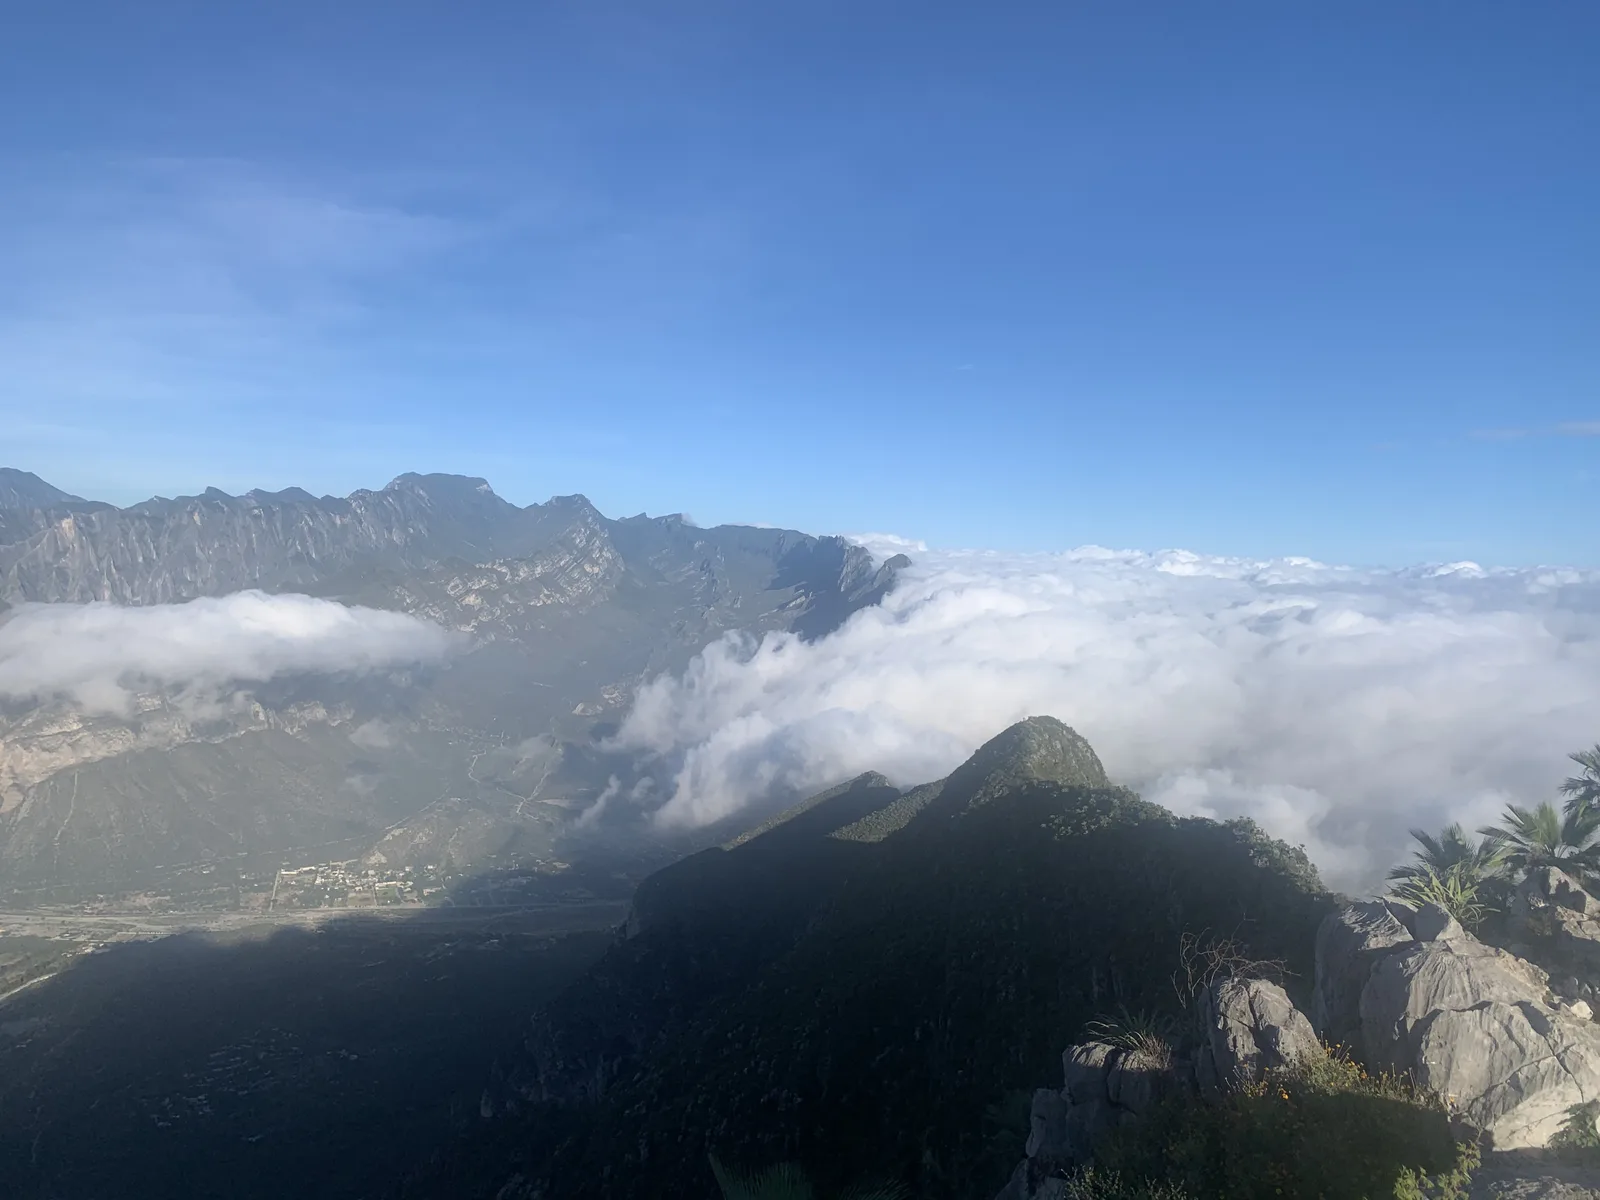
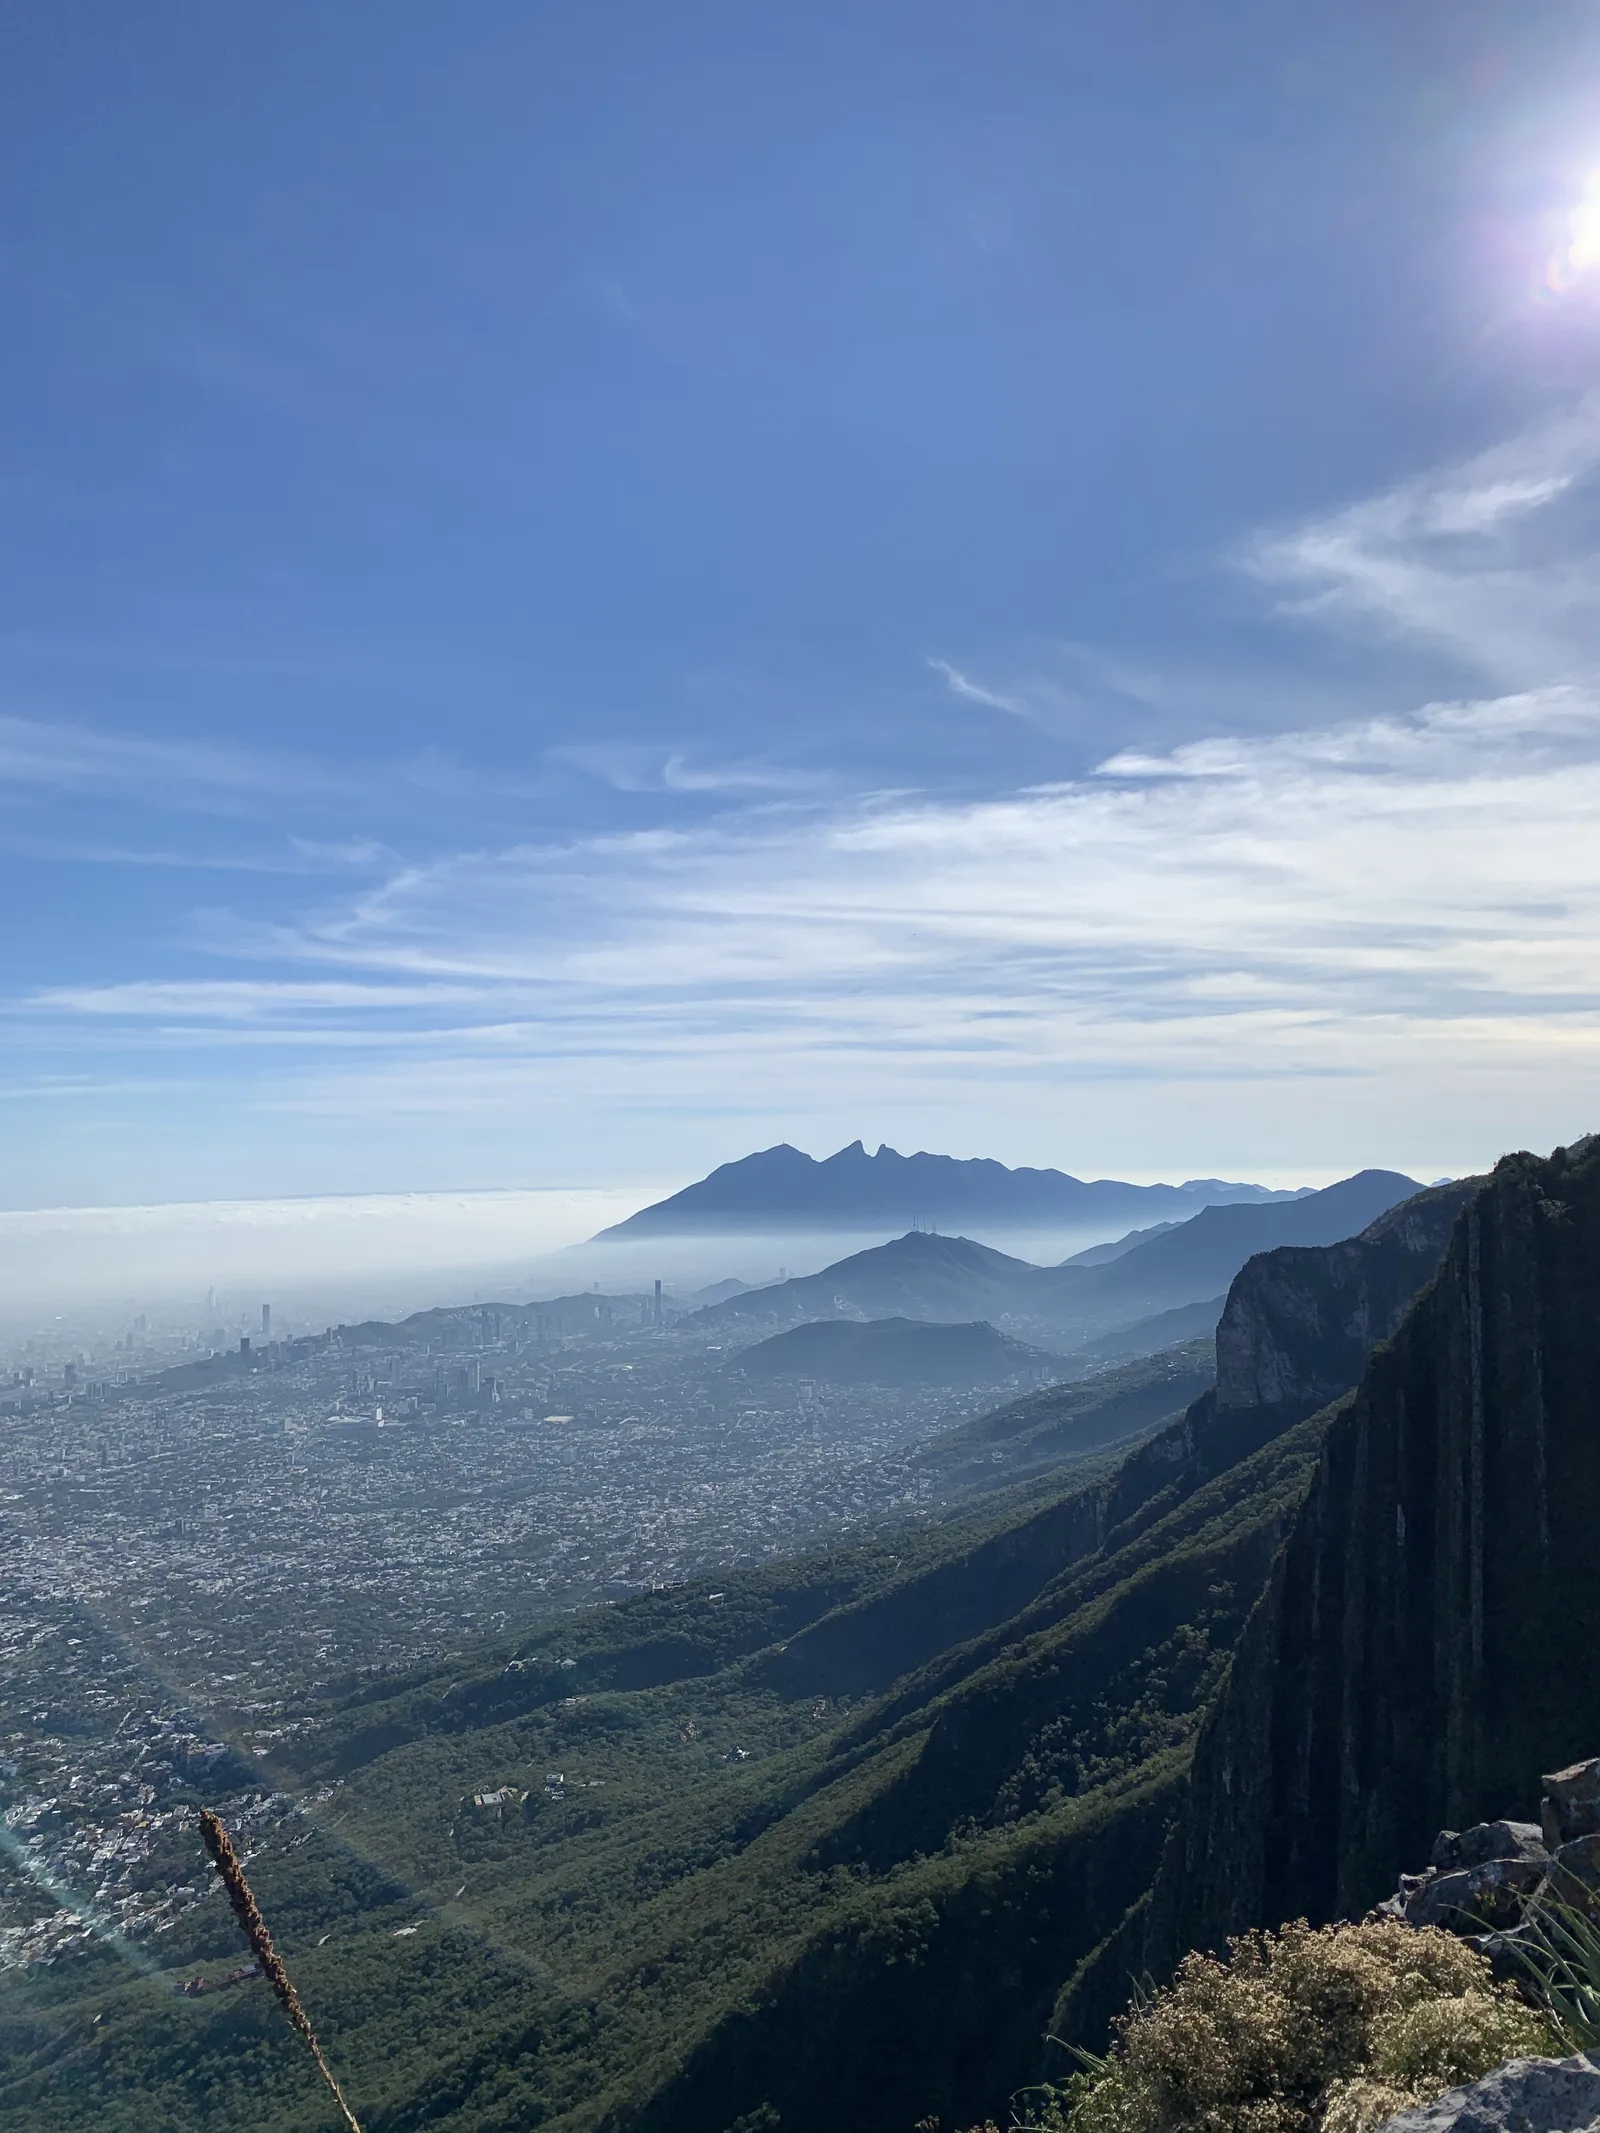
Pico Udem is one of the most traveled hikes in Monterrey and with good reason. This summit is extremely fun and offers beautiful views of the Sierra Madre Mountains.
Warnings


Level
i
Packing List
How to get there
Trailhead Access
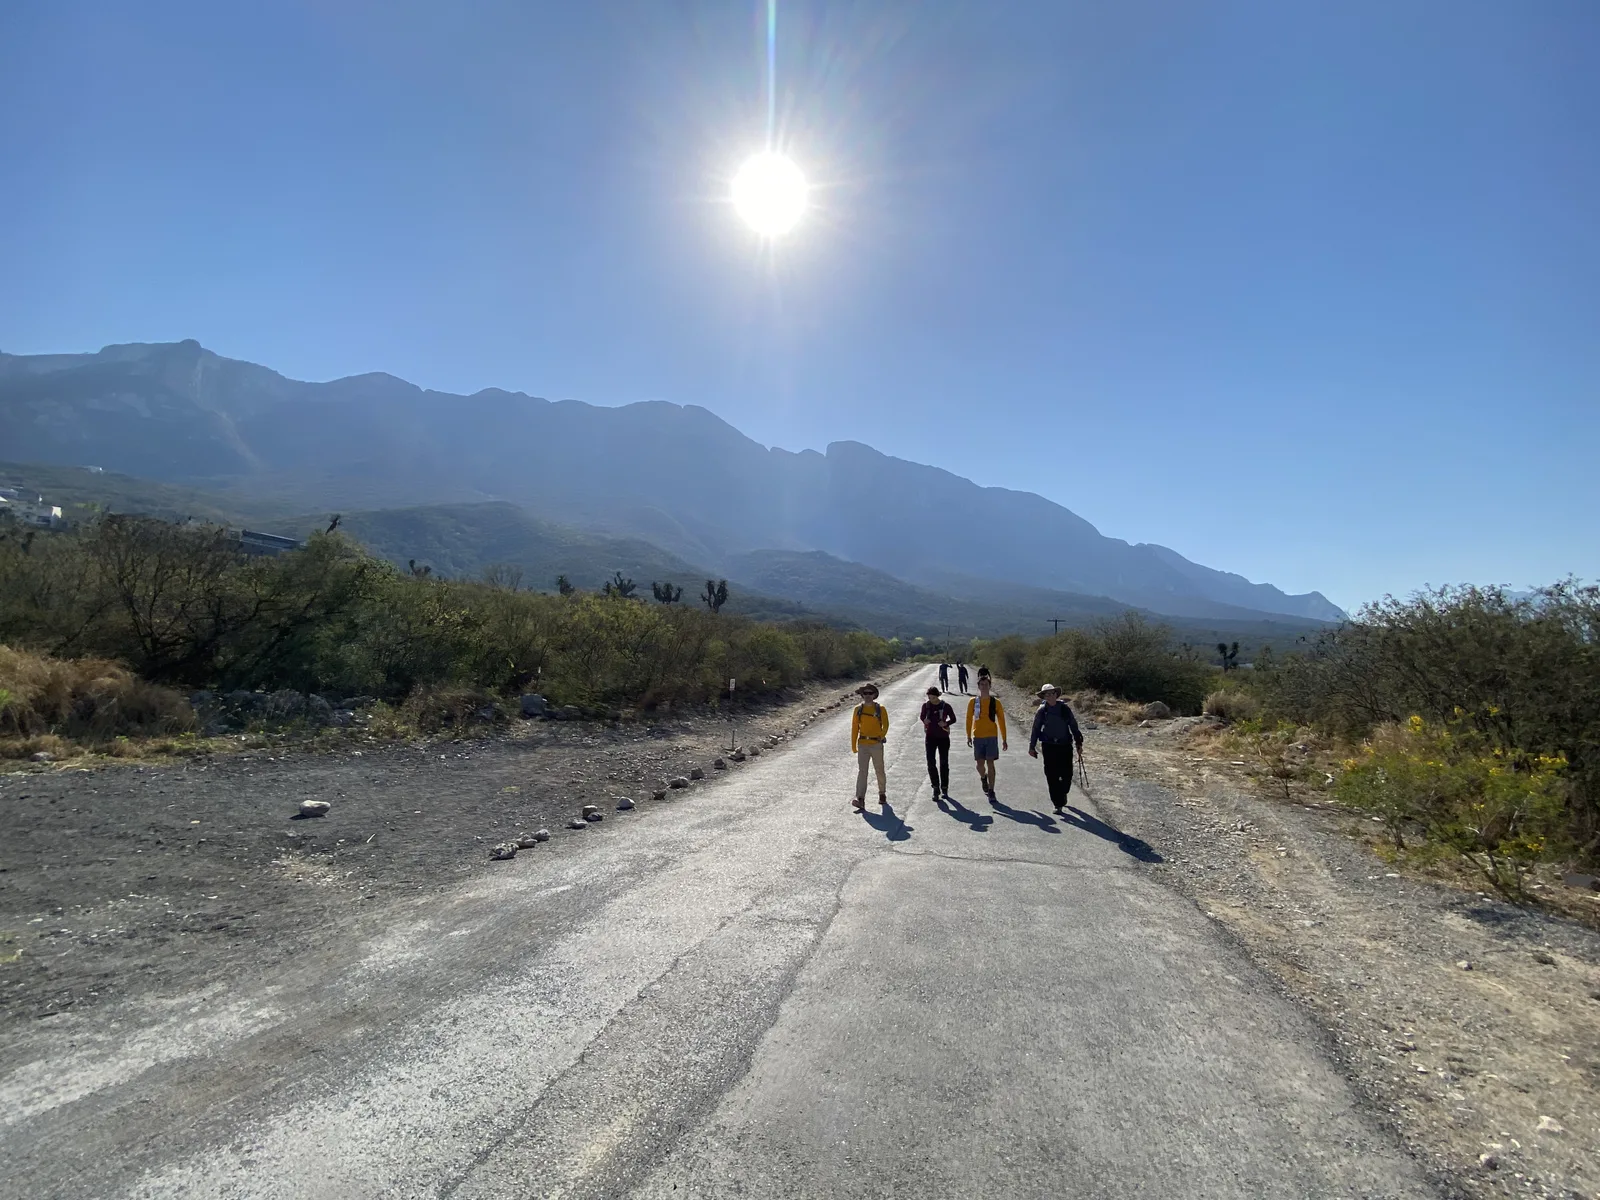
The beginning of this path is very accessible and open to the public. Climbing this summit is priceless because the owners of the land where the sidewalk begins have decided not to charge for access. However, a parking fee must be paid at the Black Bear Park bike park. To get here, you have to take Alfonso Reyes Avenue towards La Huasteca and follow Google Maps (or whatever browser you use) until you reach a dirt road with a fence. This street is the one that leads to the land where the sidewalk begins.
Parking Information
At the height of the fence that indicates the beginning of the property there is a bike park known as black bear park. Here you can park to walk up to the heliport
Fees & Park Hours
It costs 50 pesos to park the car in the Black Bear Park parking lot, so it is advisable to carry 50 pesos in cash to pay quickly and be able to park.
Trail Overview
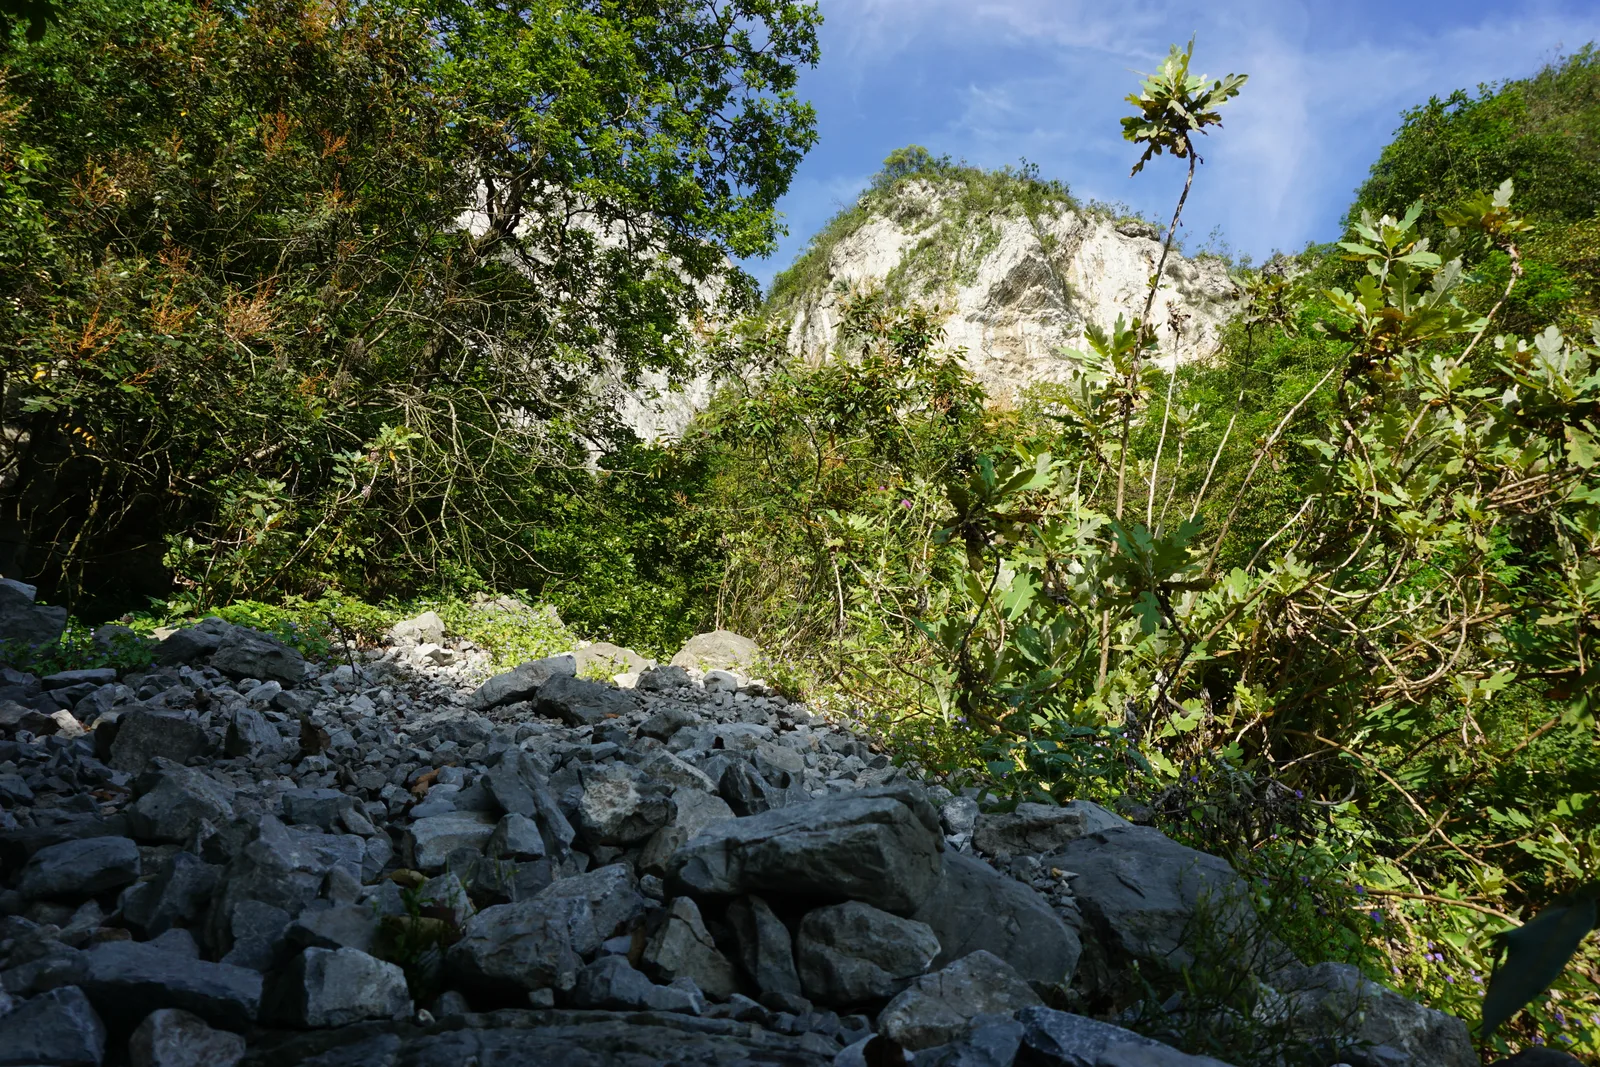
A lot of beginners tend to miss out on this summit. The road is very well marked, the problem is that so many people have been lost, that the wrong path is also very well marked. You have to be super attentive to Wikiloc. There is a section in the sandblaster where there is a marked path on the right that you can take instead of continuing to walk through the sandblaster. Be aware of this path, which can save you a lot of time and energy by reducing time in the sandblaster.
Recommended Gear
Grip gloves for gripping ropes, antibacterial gel/wet towels, wearing a helmet for added safety, first aid kit
Elevation Gain
887 m
Total Distance (Out & back)
6 km
Total Time
7 h
Max Elevation
1660 msnm
This route has a level 4 physical difficulty based on our difficulty classification metric. This means that the slope falls between 800 and 1000 meters. The climb to the summit begins with a fairly pleasant slope, but when you reach the ravine (almost half way up the route), the rest of the climb will be relentless and will be very steep and technical (with ropes and a lot of loose dirt). Remember to read the Wikiloc for even more detailed information about the upload.